|
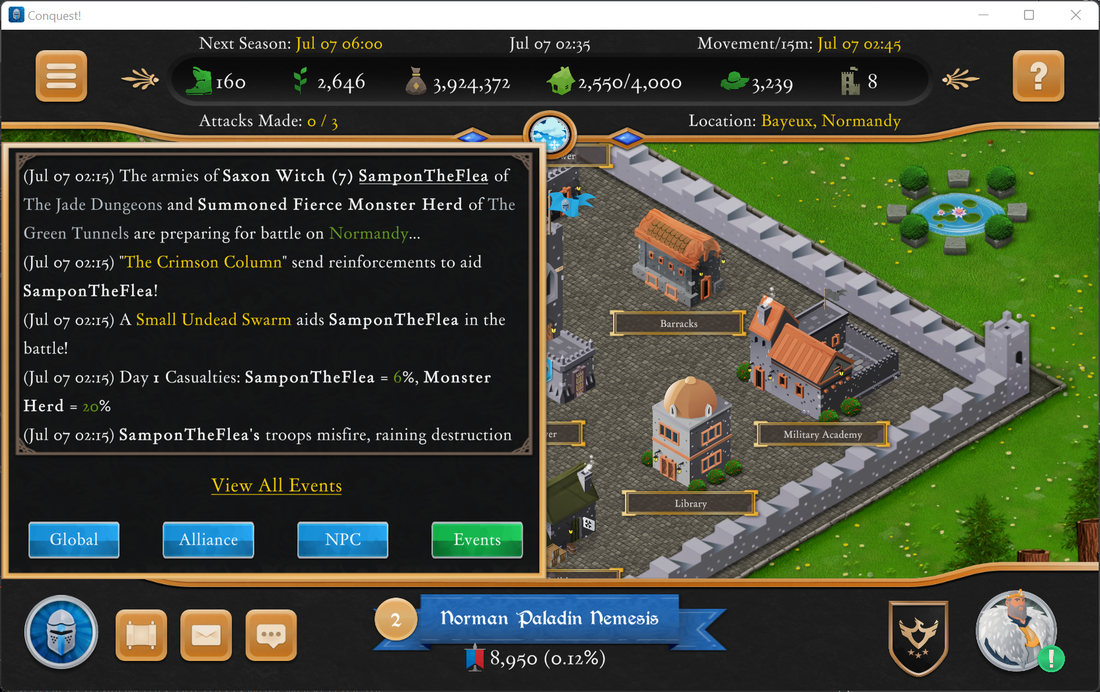
A reoccurring suggestion has been to have names in chat/world events selectable, so players could quickly select others without resorting to cut/paste on Windows or trying to remember on other platforms. This seemingly innocuous suggestion lead to a project which took 5 days to complete!
When the Unity version of Conquest! started in 2015, it used all standard Text, Input, and Dropdown fields. These standard fields ship with Unity and are easy to use. Unfortunately, they do not support some simple and some advanced use cases e.g. underlining or embedding links in text. The latter functionality is what I really needed to make clickable player names work. Google and I turned up some workarounds to get links working in standard Text objects (maybe?) but it quickly became apparent what I really needed to do was convert to using TextMeshPro. I decided early on that I as going all-in on TextMeshPro and this required converting all buttons, dropdowns, input, and text fields to use the new objects. Fortunately, I recently converted many panels and popup windows to prefabs, which meant I only had to modify them once for them to be fixed everywhere. The first thing to do was add TextMeshPro to my project, an easy task accomplished via Windows > Package Manager. Adding <link> tags to text is also easy but responding to those links was more challenging. I found these two sites to be the most helpful in getting everything configured: www.youtube.com/watch?v=lyZuCnARNSw&ab_channel=JasonWeimann www.feelouttheform.net/unity3d-links-textmeshpro/ Here are the namespace and object names as a reference:
Assigning the new script to my text objects was simple but I had two major problems. First, I had inadvertently unchecked "Raycast Target" on the text object, which naturally prevented the IPointerClickHandler event from being triggered. The second was invoking the function I wanted from a different class (it wasn't opening a standard URL, which I could have accomplished with Application.OpenURL()). What I had to do was create an instance of the object which contained the function: public class MyClass : MonoBehavior { public static MyClass Instance; void Awake() { Instance = this; } public void MyFunction() { DoStuff(); } }
And then invoke the function using this notation: MyClass.Instance.MyFunction(). There are probably better ways to organize a project to allow this, but this is what worked for me. Now, player names are finally clickable! And underlining text is pretty neat too. =)
0 Comments
Leave a Reply. |
AuthorJames has been working on Conquest! since 1993. Archives
June 2024
Categories |
Copyright 1993-2024 GreenLion Gaming All Rights Reserved


 RSS Feed